eMail for price
Please enter these characters in the following text field.

Fields with * are required

GRILLE AIR SEAL

$22.00 *
Content: 1 Each

Prices incl. tax where applicable plus shipping costs

Ready to ship today,
Delivery time appr. 3-5 workdays
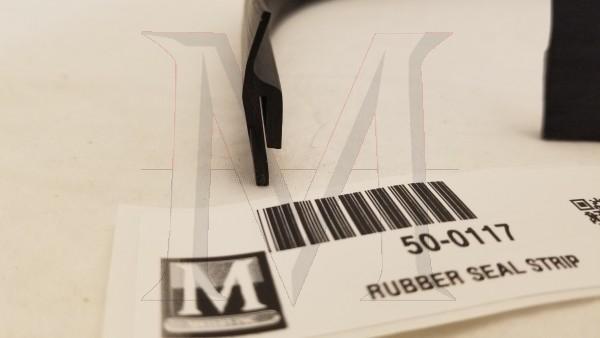
eMail for price
Please enter these characters in the following text field.

Fields with * are required
  • 50-0117
Its purpose is to seal and funnel the air flowing in from the grille directly into the radiator... more
Product information "GRILLE AIR SEAL"

Its purpose is to seal and funnel the air flowing in from the grille directly into the radiator for maximum cooling.
Includes 28”  of the rubber extrusion and (6) barrel bolts 50-0118 to attach the extrusion to the frame.

One kit will do one car.
W128 220SE

W128 220SE Grille Air Seal

Installation instructions

August 14, 2019

Rev. 3/22/20

The purpose of the seal is to direct the airflow from the grille on the hood, directly into the radiator to achieve maximum cooling.  The seal was only used on the W128 220SE fuel injected cars. Picture 1 is an original seal still intact. The carbureted 220S models did not have the factory welded bracket on the radiator support that retains this seal. Because the seal was part of the radiator support as an assembly from the factory, it does not have its own separate part number and has never been available separately.

1) Remove old rubber seal strip. Rivets will have to be cut and pried off (See pictures 4 and 6). Be careful not to distort the bracket that is welded to the radiator support.

2) Cut two strips from the supplied cord, 11” long and 14” long. The shorter end is on the driver’s side and the longer on the passenger side. The tops of the extrusion are mounted flush with top of the welded metal “L” bracket on the radiator support (see picture 3).

3) Holes in the rubber strips will need to be punched. A leather punch tool is inexpensive and very helpful in this process (See picture 7). The Barrel screws require a 4mm hole and find the die on the leather punch that is slightly bigger than 4mm.

4) The extrusion is positioned such that the longer leg of the extrusion is on the outward side of the bracket. The shorter leg is on the inner side (See picture 2).

5) After marking the position of the holes using the bracket holes as a guide, punch holes in the extrusion (See Picture 8).

6) The barrel screw assembly is a two piece unit. One piece has a hollow threaded barrel with a flat smooth head (See picture 13). This smooth head should be facing outward to closely resemble the factory rivet head. The other piece has a threaded shaft and the head has a slotted drive (See picture 14). This piece should face the inside. The slot in the face is the drive to tighten the assembly using a flat screwdriver.        

7) Install the outer facing barrel pieces into the extrusion first (See picture 9). Slide the extrusion over the bracket so that both legs straddle the bracket. You should be able to push the barrel through the bracket hole and into the punched hole in the inner (shorter) leg (See picture 10). Once it is all positioned, screw the piece with the slotted head into the barrel piece (See picture 11). The leg thickness of the rubber piece is designed with adequate compression so that the barrel screw can be tightened until snug (See picture 12).

8) For the uppermost screw, there is limited access to tighten the inner piece. Use a small screwdriver blade in the slot to accomplish this (See picture 15).

9) Make a cut into the right side (passenger) seal (See picture 16). This will allow the support bar across the grill to rest against the seal without deforming it.

Related links to "GRILLE AIR SEAL"
Available downloads:
Read, write and discuss reviews... more
Customer evaluation for "GRILLE AIR SEAL"
Write an evaluation
Evaluations will be activated after verification.
Please enter these characters in the following text field.

The fields marked with * are required.

Viewed